Hello Techies,
Here I come again with the setting up of Active Directory on the Windows Server 2019 we installed yesterday.
This is a step-by-step guide on how to install the roles and features to promote the server to a Domain Controller. We will be creating a new forest in this tutorial.
The steps are as follows :
1. Click on Add roles and features
2. Click Next
3. Click Next
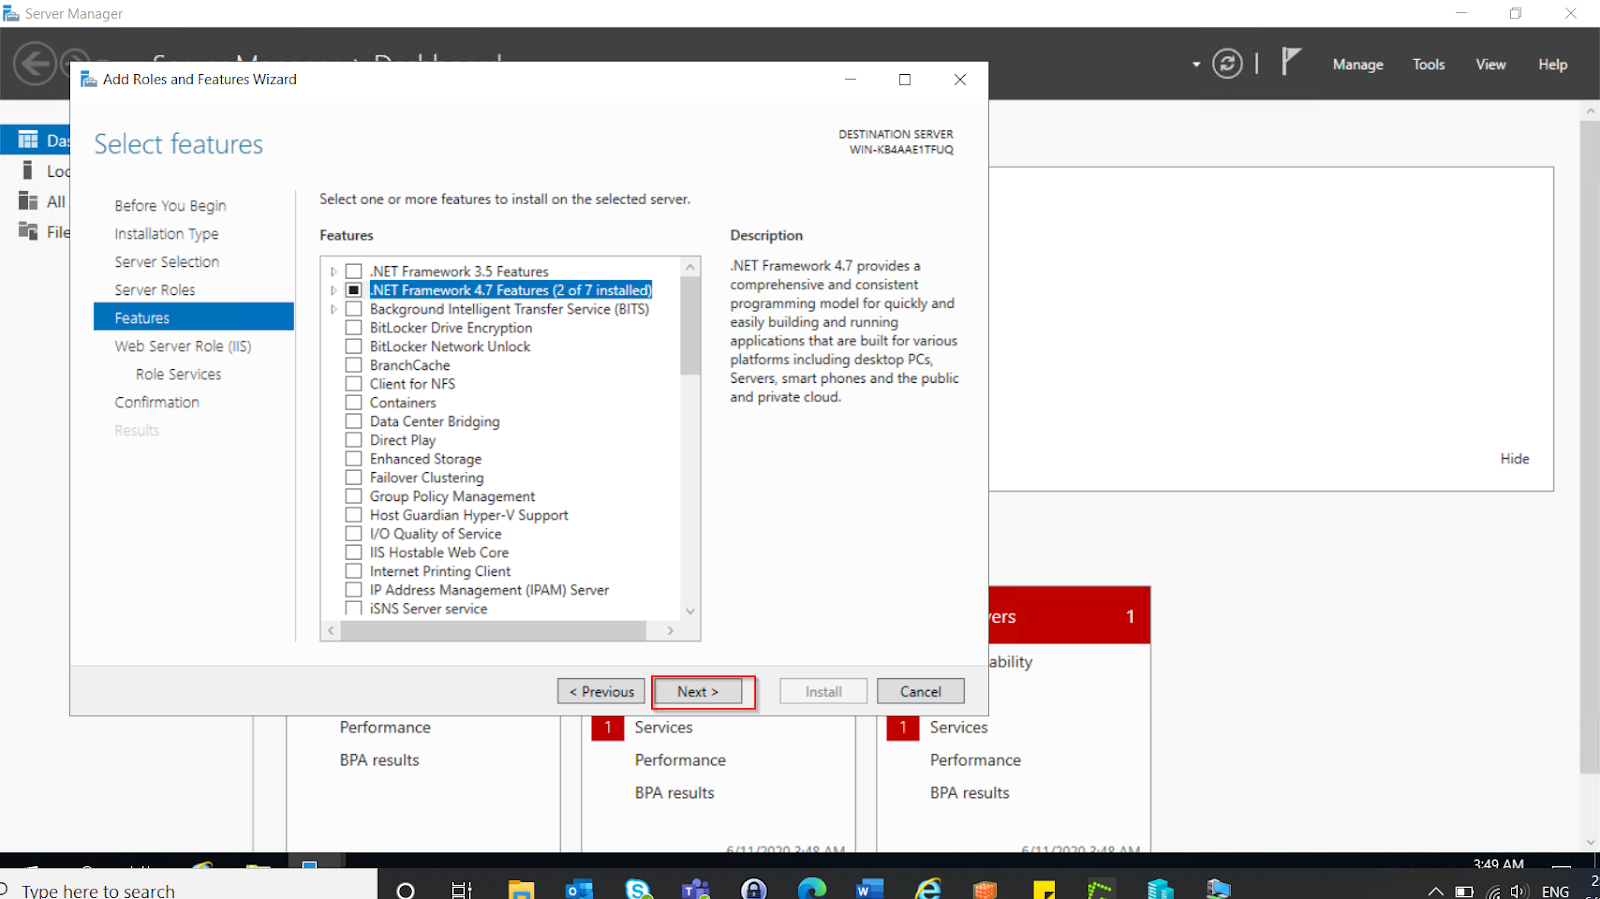
4. Click Next
5.Select Active Directory Domain Services
6.Click Add Features
7. Click Next
8. Click Next
9. Click Next
10. Select Restart the destination server automatically if required. Click OK, Install
11. Wait a while till installation is completed
12. Click on Promote this server to a domain controller
13. Select Add a new forest, enter a domain name and click on Next
14. Type in a password to login the domain controller and take note of that
15. Click Next
16. Click Next
17. Click Next
18. Click Next
19. Click Install
20. Wait for installation processes to complete
21. The server restarts and settings are applied
22. Login as Administrator with the password earlier configured
23. Verify that the features have been correctly set up
That's all, folks.
Next will be on how to add IIS role and feature to set up a web server!!!
Thanks.