Hello Techies,
Below are the steps to set up a web server in Windows Server 2019 and also to test with a default site:
1.Click on add roles and features
2. Click on Next
3. Click on Next
4. Click on Next
5. Select Web Server (IIS)
6. Click on Add Features
7. Click on Next
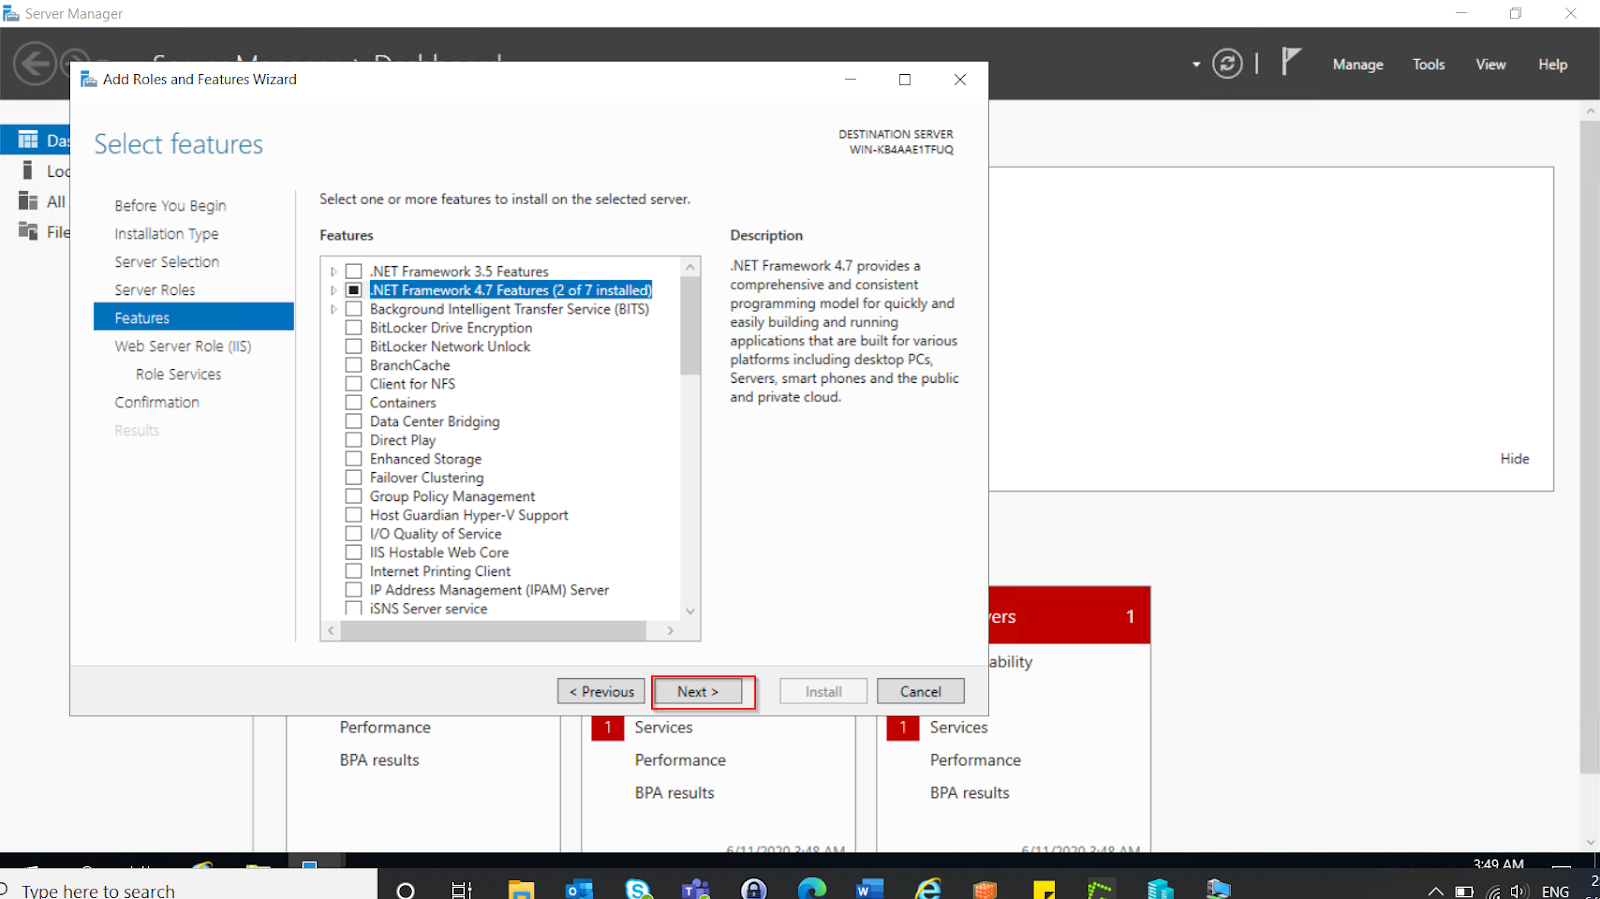
8. Click on Next
9. Click on Next
10. Click on Next
11. Click on Yes
12. Click on Install
13. Wait till installation process to complete
Adding a default site for testing😀
14.Click on Tools > Internet Information Services (IIS) Manager
15. Unroll the arrow as shown
16. Click on Sites
17. Click on Default Sites
18. Right-Click on Default Web Sites > Manage Website
19. Click on Default Document
20. Move up index.htm
22. Browse the website
23. The test webpage is now shown , it means the website is set up
Thanks!!


No comments:
Post a Comment